
我正在做一些深度学习的图像预处理工作,无意中想到了一个想法,我们可以使用OpenCV来让Instagram像过滤器一样,所以让我们来看看这个。
注:请参阅平行附呈的木星笔记本。
kshisagarsiddharth/filters_product(github.com)kshirsagarsiddharth/filters_article (github.com)
import cv2
import numpy as np
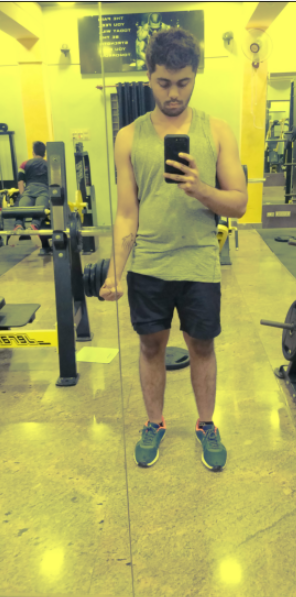
import matplotlib.pyplot as plt 图片1:我之所以选择这张图片,是因为它有一些光和一些鲜艳的颜色。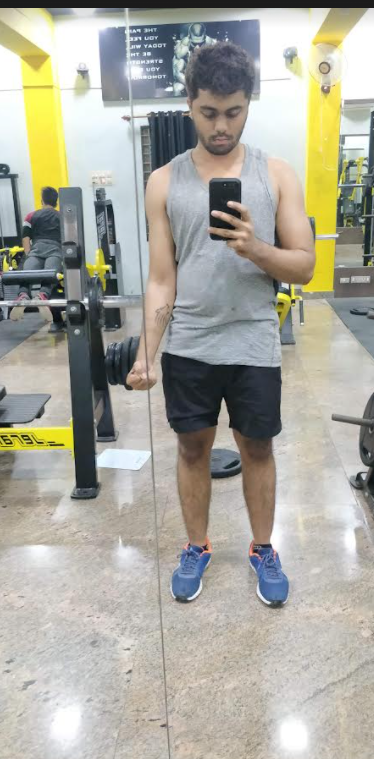
display_images(img2)图2:之所以选择这张照片,是因为这张照片是在黑暗中拍摄的。我想调整一下背景。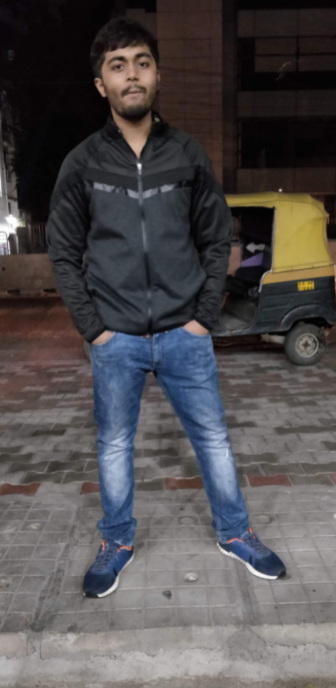
不要相信我说的图像的强度,让我们看看这些图像的直方图。
def calc_intensities(image):
    """
    image: numpy array
    """
    colors = ['b','g','r']
    for index, color in enumerate(colors):
        hist_temp = cv2.calcHist(images = [image], channels = [index], mask = None,histSize = [256],ranges = [0,256])
        plt.plot(hist_temp, color = color)
        plt.xlim([0,256])
    plt.show()
图1直方图。
如前所述,这是一张更亮的图像,我们可以从这张左侧倾斜的双峰直方图中观察到。
calc_intensities(img2)图2直方图。
这是一张较暗的图像,这是从这张向左倾斜的直方图中观察到的。
首先,在图2中,我可以看到后面有一辆车,我不喜欢它,我可以把它移走吗?
我想去掉第一部分,并将其与第二部分混合在一起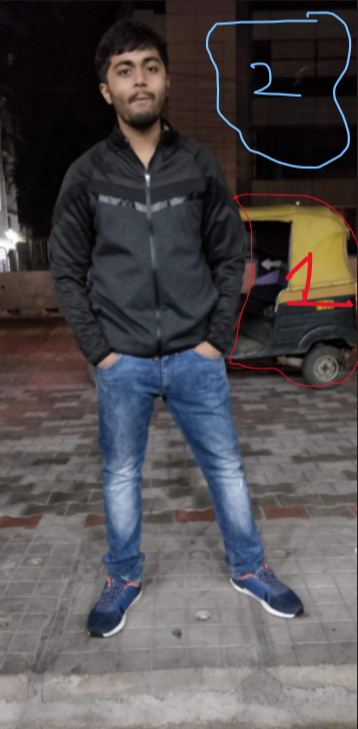
函数选择感兴趣的区域。
def find_roi(image):
    r = cv2.selectROI(image)
    # Crop image
    roi = int(r[1]),int(r[1]+r[3]), int(r[0]),int(r[0]+r[2])
    cv2.waitKey(0)
    cv2.destroyAllWindows()
    return roi
要替换的感兴趣区域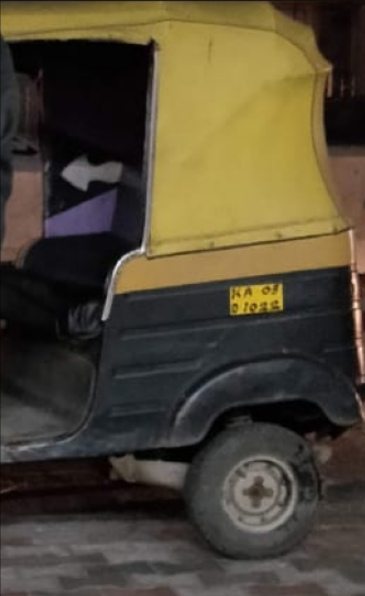
要添加的感兴趣区域
display_images(img[roi_to_add[0]:roi_to_add[1],roi_to_add[2]:roi_to_add[3]])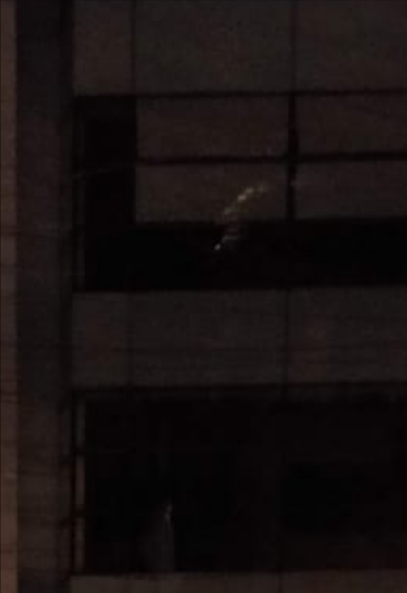
好的,在替换了我们观察到的图像后,是的,是的,我知道看起来很四四方方,但是嘿,我不是一个照片编辑,所以我可以接受。那么我做了什么呢?
step1: select ROI's from image1 and ROI's from image2
done above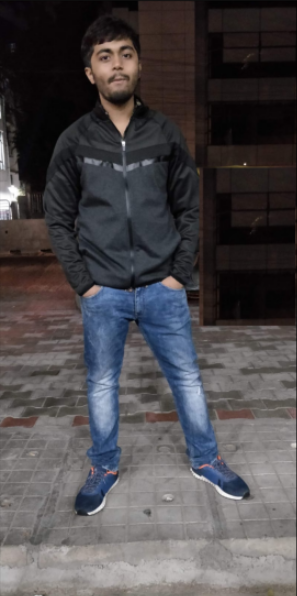
1.直方图均衡
我想我不会对第一张图像做任何预处理。让我们对第二幅图像做一些直方图均衡化,然后让我们来看看创建滤镜的有趣部分。因为要对彩色图像进行直方图均衡,我们需要
hsv_img2 = cv2.cvtColor(img, cv2.COLOR_BGR2HSV)
# grab the value channel
hsv_img2[:,:,2] = cv2.equalizeHist(hsv_img2[:,:,2])
img_eq = cv2.cvtColor(hsv_img2, cv2.COLOR_HSV2BGR)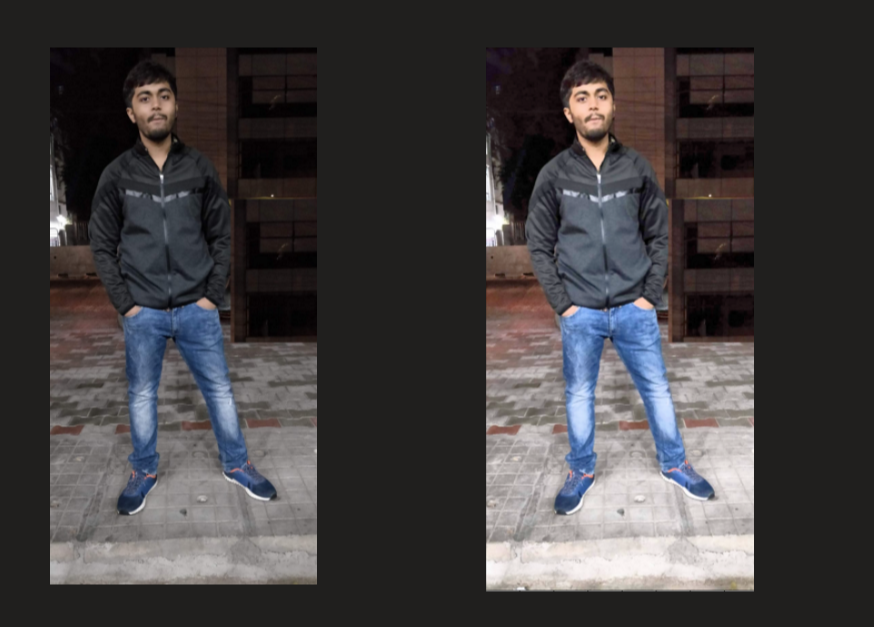
2.安装热过滤器。
因为我们想要添加加热和冷却效果,所以我要做的是移除一些红色以使图像看起来更凉爽,或者移除一些蓝色以使图像变暖。
def apply_heat_filter(image, temp, b_max = 100):
    if temp == 'warm':
        # replace pixels in the image where the blue intensity of image is greater than the maximum permitted intensity
        # with permitted intensity
        image[image[:,:,0] > b_max,0] = b_max
        return image
    elif temp == 'cool':

        image[image[:,:,2] > b_max,2] = b_max
        return image
更酷的版本
temp_image_1 = img1.copy()
display_images(apply_heat_filter(temp_image_1,'warm', b_max = 99))
更温暖的版本
3、卡通形象过滤
img2_temp = img2.copy()
gray = cv2.cvtColor(img2_temp, cv2.COLOR_BGR2GRAY) # convert to gray
gray = cv2.medianBlur(gray,ksize = 3) # apply median blur
edges = cv2.adaptiveThreshold(gray,255,cv2.ADAPTIVE_THRESH_GAUSSIAN_C,cv2.THRESH_BINARY,29,9) # threshold the image
color = cv2.bilateralFilter(img2_temp,19,120,250) # apply bilateral filter
cartoon = cv2.bitwise_and(color,color, mask = edges) # perform bitwise and
display_images(cartoon)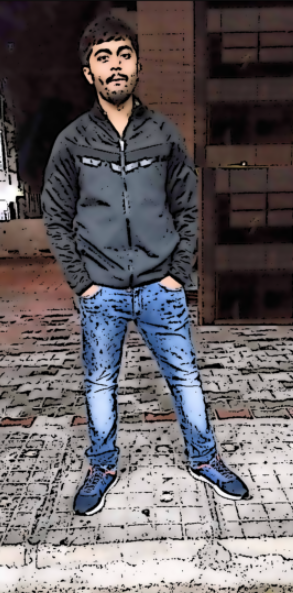
4、用铅笔写生过滤形象
img1_temp = img2.copy()
gray = cv2.cvtColor(img1_temp, cv2.COLOR_BGR2GRAY) # convert to gray
gray = cv2.medianBlur(gray,ksize = 5) # apply median blur
edges = cv2.adaptiveThreshold(gray,255,cv2.ADAPTIVE_THRESH_GAUSSIAN_C,cv2.THRESH_BINARY,19,7) # threshold the image
display_images(edges)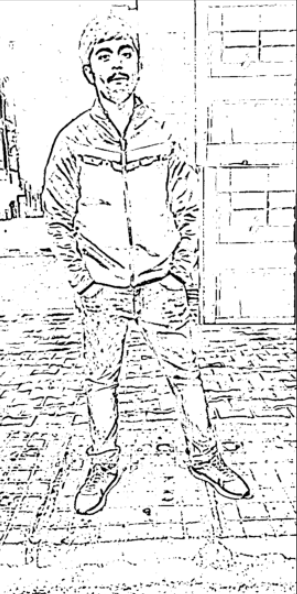
5、打磨过滤
temp_img = img2.copy()
sharpening_kernel = np.array([[-1, -1,  -1],
                              [-1,  9.3, -1],
                              [-1, -1,  -1]])
sharp_img = cv2.filter2D(src=temp_img, ddepth=-1, kernel=sharpening_kernel)
display_images(sharp_img)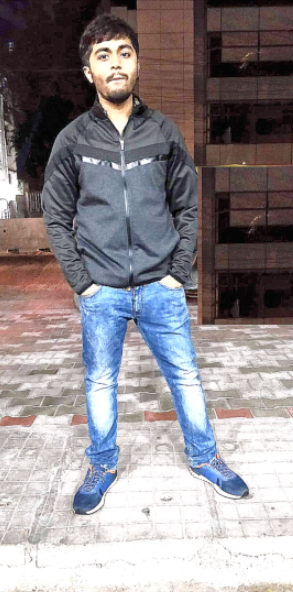
5.对过滤进行大理石漂白或浮雕处理
temp_img = img1.copy()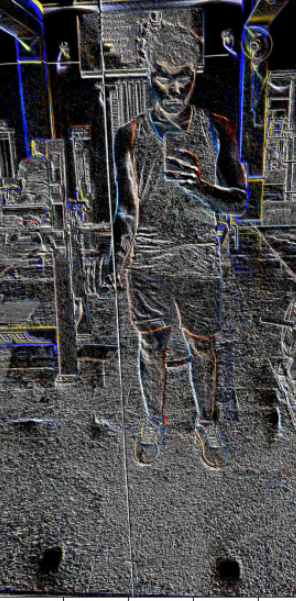
所有代码和图像都可以在以下位置找到
kshisagarsiddharth/filters_product(github.com)kshirsagarsiddharth/filters_article (github.com)
原创文章,作者:fendouai,如若转载,请注明出处:https://panchuang.net/2021/08/03/%e4%bd%bf%e7%94%a8opencv%e7%9a%84%e7%b1%bb%e4%bc%bcinstagram%e7%9a%84%e6%bb%a4%e9%95%9c-2/
