使用Python创建自己的Instagram滤镜|视觉实战

作者|Arno 编译|Arno 来源|Medium
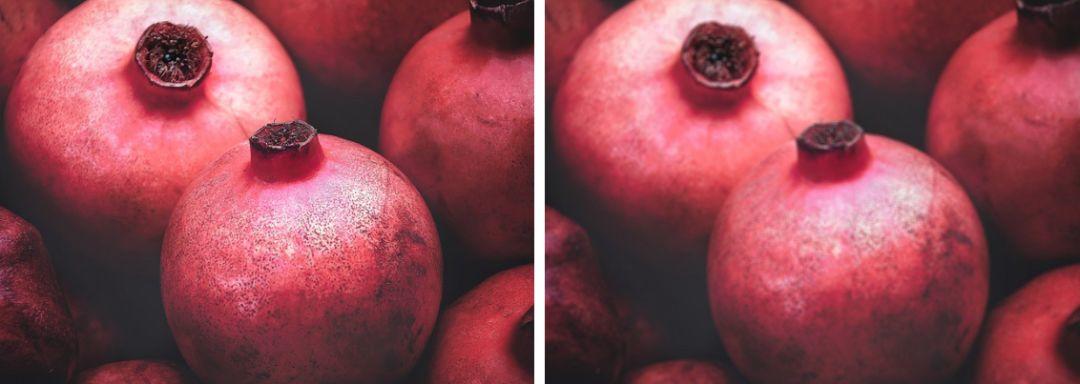
带有代码的OpenCV的图像滤镜示例
不知道你有没有使用过Instagram滤镜,它们非常方便,只需单击几个按钮,就可以变换我要发布的照片。
你是否想过自己可以创建一个?答案是可以的!
在本文中,我将向你展示如何使用代码和示例图像来创建一些图像处理滤镜。
如果尚未安装以下python库,则需要安装它:
opencv-python
matplotlib
numpy
模糊滤镜
import cv2
import matplotlib.pyplot as plt
im = cv2.imread('input-image.jpg')
dst = cv2.GaussianBlur(im,(5,5),cv2.BORDER_DEFAULT)
plt.imshow(dst)
plt.show()


边缘检测滤镜
import cv2
import matplotlib.pyplot as plt
im = cv2.imread('input-image.jpg')
edges = cv2.Canny(im,100,300)
plt.imshow(edges)
plt.show()


复古风滤镜
import cv2
import numpy as np
from matplotlib import pyplot as plt
im = cv2.imread('input-image.jpg')
rows, cols = im.shape[:2]
# 创建高斯滤波器
kernel_x = cv2.getGaussianKernel(cols,200)
kernel_y = cv2.getGaussianKernel(rows,200)
kernel = kernel_y * kernel_x.T
filter = 255 * kernel / np.linalg.norm(kernel)
vintage_im = np.copy(im)

# 对于输入图像中的每个通道,我们将应用上述滤波器
for i in range(3):
    vintage_im[:,:,i] = vintage_im[:,:,i] * filter
plt.imshow(vintage_im)
plt.show()


以上就是使用Python和OpenCV进行图像处理的代码示例。
你最喜欢哪个滤镜?在下面留下你的想法作为评论。
资源
-
OpenCV[1]
[1]: https://opencv.org/?source=post_page—–6d8bd3a86d4———————-
你也许还想看:
欢迎扫码关注:
原创文章,作者:fendouai,如若转载,请注明出处:https://panchuang.net/2019/11/09/4aeae0b8ad/


 点击下方
点击下方